Add Reverse Proxy & Encrypt Arclight with self-signed certificate
Ubuntu has a configuration already setup to be used with a self-signed certificate. It can be activated by using the following command:
sudo a2ensite default-ssl.confTo create the certificate for the
arclight navigate to the /etc/ssl/ directory.
cd /etc/ssl/Create the certificate by using the following command:
sudo openssl req -x509 -days 365 -new -nodes -out self.pem -keyout self.pemNow change the permissions of the self.pem file
sudo chmod 755 self.pemOpen the virtual host file for your domain using nano or your favorite text editor:
sudo nano /etc/apache2/sites-available/default-ssl.conf Remove everything and paste the
following along with your
server ip_address
<IfModule mod_ssl.c>
  <VirtualHost *:443>
    ServerName your_server_ip
    DocumentRoot /var/www/html/arclight/

    SSLEngine on
    SSLCertificateFile /etc/ssl/self.pem
    SSLCertificateKeyFile /etc/ssl/self.pem
            <Location "/api/">
                    ProxyPreserveHost On
                    ProxyPass http://localhost:3000/
                    ProxyPassReverse http://localhost:3000/
            </Location>
    <Directory /var/www/html/arclight>
        Options Indexes FollowSymLinks
        AllowOverride All
        Require all granted
    </Directory>
  </VirtualHost>
</IfModule>
If your current virtual host configuration does not match up, then update it accordingly. After, save and exit the text editor. Then, validate your changes:
sudo apache2ctl configtestYou will need to restart/reload the Apache web server and api to apply the changes. Use the following commands:
sudo systemctl restart apache2
pm2 kill
pm2 flush
cd /var/www/html/arclight
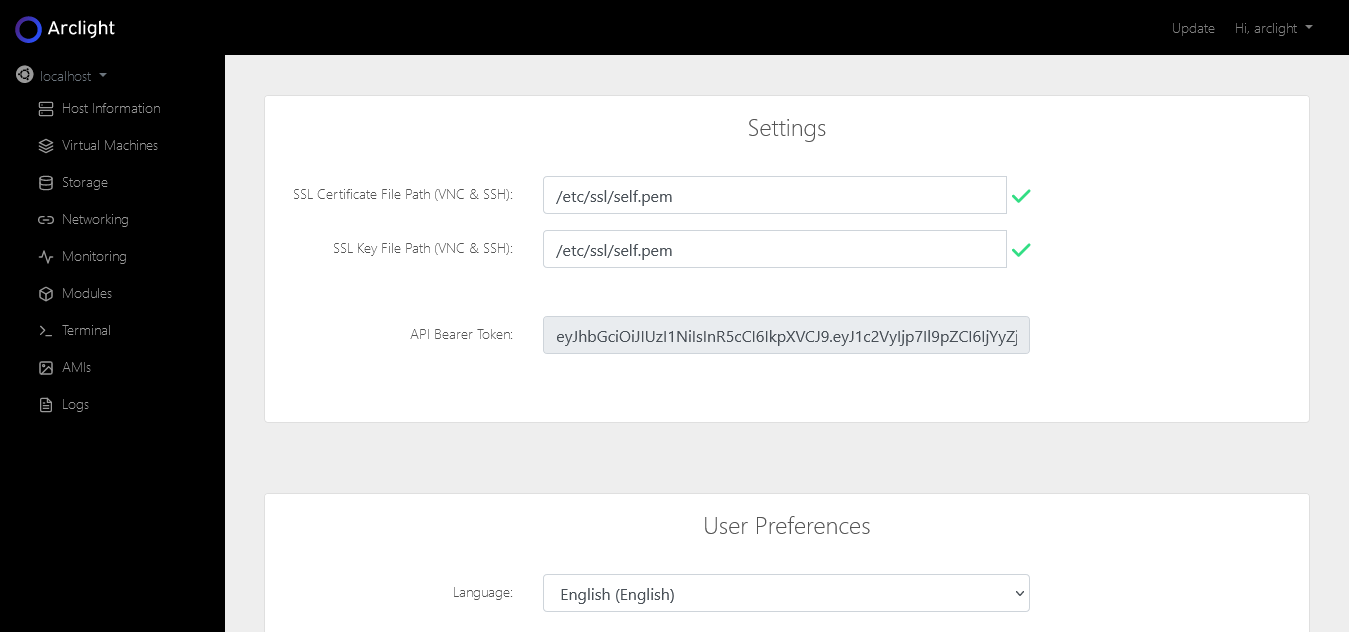
pm2 start ecosystem.config.jsNow login to your Arclight Dashboard. Go to the settings page and add the location of the Self-Signed certificate file and key file.

Restart your server or restart the python process tied to noVNC to apply the certificate and key files. If you decide to restart the service you should be able to determine which process id (PID) is using port 6080. Use the following command:
sudo netstat -tulpn | grep 6080Then after determining the PID number, kill the process. For example, if it was PID 1386, I would use the command:
sudo kill 1386That's it, now you can use the noVNC web console to connect to your vms. the VNC software will use the self-signed cert. Because it is self-signed your browser will not trust it. To trust the certification visit your URL:6080 and click the Advanced button on the screen. For example, if you were using 192.168.1.2 to view the web interface you should use https://192.168.1.2:6080.